Embroidery hoop sizes
Drop a design to see which hoops it fits, straight or turned 90°, with a picture of the design inside the hoop. Common sizes and brand lists included.
More options
Every embroidery machine stitches inside a frame, the hoop, and every hoop has a sewing field: the area the needle can actually reach. A design larger than the field will not load, or the machine will ask you to move it. Hoops are sold by nominal sizes such as 4" × 4" or 5" × 7", but the sewing field is what counts, and it is easy to get wrong by a few millimetres. Drop a design into the checker above and it measures the stitched size from the file, compares it with each hoop, and shows the design inside the smallest hoop that fits.
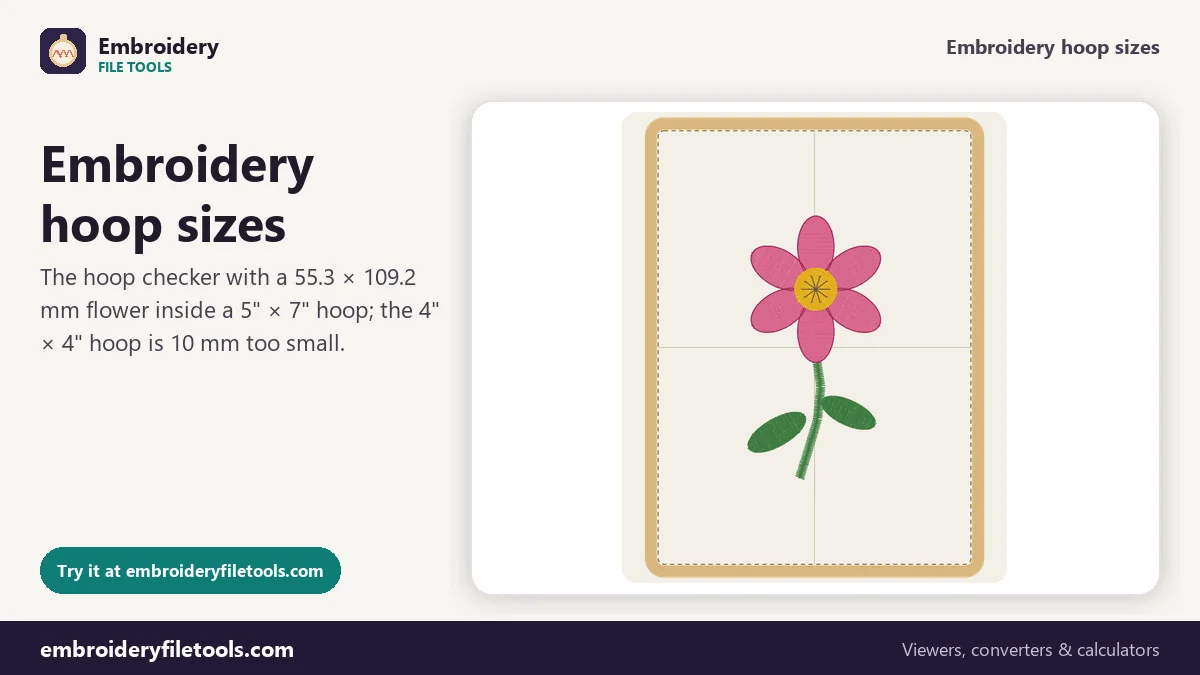
How to check if a design fits your hoop
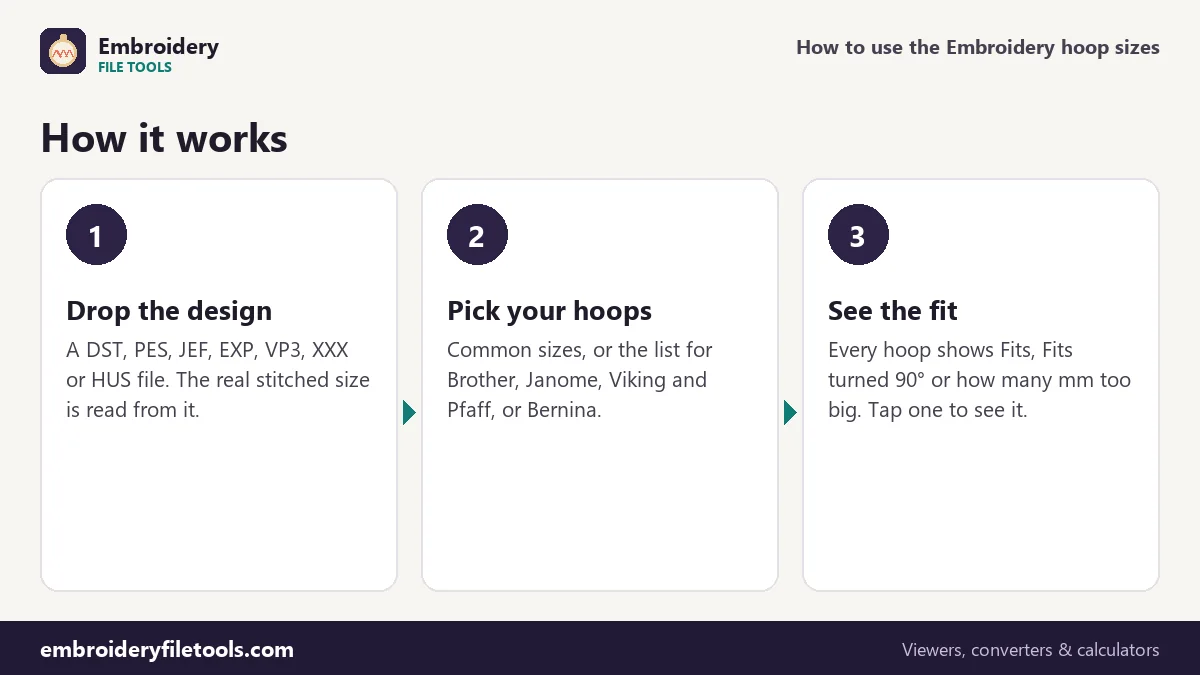
- Drop the design file. Any machine format: DST, PES, JEF, EXP, VP3, XXX or HUS. The size is measured from the outermost stitches, the way the machine measures it.
- Pick the hoop list. Common hoop sizes covers the nominal sizes most brands sell. The brand lists add each maker's own hoops. The page remembers your choice.
- Read the result. The smallest hoop that fits is named at the top. Each hoop shows Fits, Fits turned 90°, or how many millimetres the design is too big. Tap a hoop to see the design inside it.
- Add a margin if you want one. Under More options you can keep a few millimetres clear of the edge, or enter the sewing field of your own hoop.
Common hoop sizes
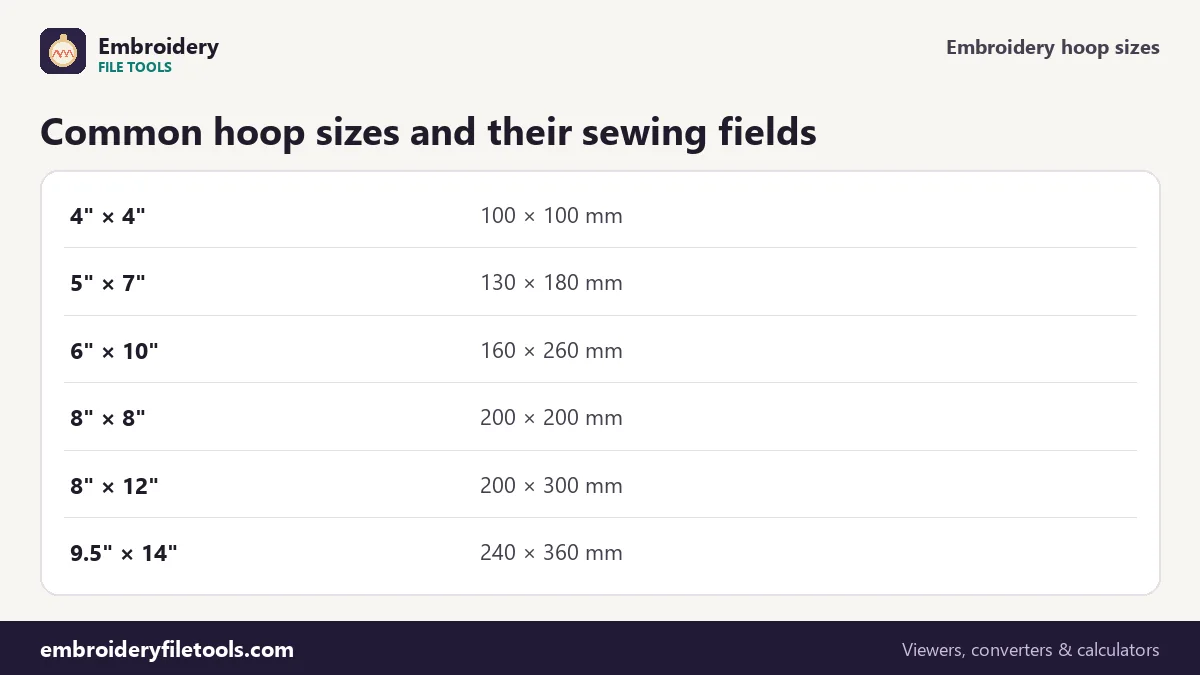
Most home machines from Brother, Baby Lock and many others use the same set of nominal sizes, and their sewing fields are close to the numbers below. A hoop's frame is larger than its field, so always compare the design with the field.
| Hoop | Sewing field | In inches | Typical use |
|---|---|---|---|
| 4" × 4" | 100 × 100 mm | 3.9 × 3.9 in | Left-chest logos, small motifs, monograms |
| 5" × 7" | 130 × 180 mm | 5.1 × 7.1 in | Tall motifs, towels, quilt blocks |
| 6" × 10" | 160 × 260 mm | 6.3 × 10.2 in | Larger motifs, bag panels, borders |
| 8" × 8" | 200 × 200 mm | 7.9 × 7.9 in | Quilt blocks, round designs |
| 8" × 12" | 200 × 300 mm | 7.9 × 11.8 in | Jacket backs on home machines, large pieces |
| 9.5" × 14" | 240 × 360 mm | 9.4 × 14.2 in | Large-field machines |
The brand lists in the checker add maker-specific hoops: Janome's B (50 × 50 mm), A (126 × 110 mm), SQ14, C (140 × 200 mm), RE20, SQ20, RE28 and GR hoops; Husqvarna Viking and Pfaff hoops from 100 × 100 mm up to 360 × 350 mm; and Bernina's Small, Medium, Large oval, Midi, Maxi and Jumbo hoops. Hoop names and fields differ between machine models, so if yours is not listed, enter its sewing field under More options.
The demo flower, hoop by hoop
The demo flower measures 55.3 × 109.2 mm. It is narrow and tall, which makes it a good example of how the checker decides:
- 4" × 4" (100 × 100 mm): too big. It is 9.2 mm taller than the field, which the checker rounds up to "10 mm too big". Turning it does not help.
- 5" × 7" (130 × 180 mm): fits, with plenty of room. This is the smallest common hoop for it.
- Janome A hoop (126 × 110 mm): fits straight, but with only 0.8 mm to spare in height. Set a 5 mm margin and the A hoop changes to Fits turned 90°: the flower then lies along the 126 mm side.
- Viking and Pfaff 100 × 100 mm: too big; the 120 × 120 mm hoop is the smallest that fits.
- Bernina Medium (130 × 100 mm): fits only turned 90°, because the flower's 109.2 mm height is more than the field's 100 mm.
Why leave a margin
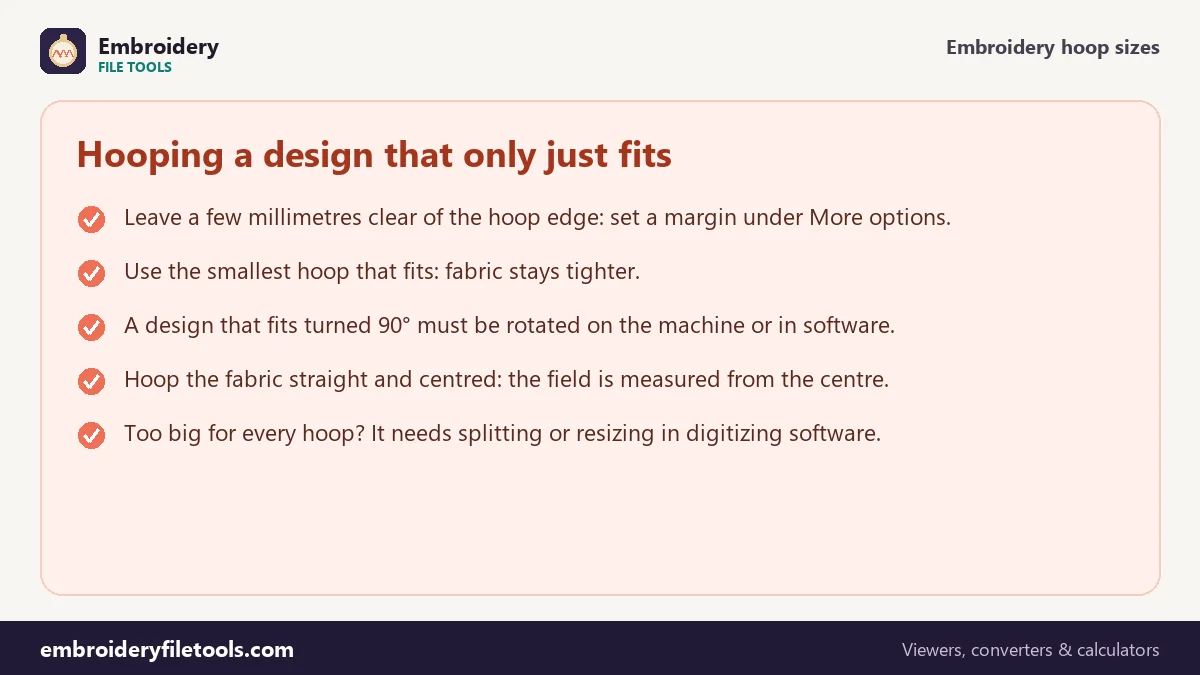
A design that fits by a millimetre fits on paper, but stitching moves things. Fill stitches push the fabric outwards and satin columns pull it in, and stretchy fabrics move more than woven ones. The presser foot also needs room near the frame. A margin of 3 to 5 mm on each side is a comfortable rule, and the margin field under More options applies it to every hoop in the list.
The opposite mistake is common too: using a hoop much bigger than the design. Fabric in a large hoop is harder to keep tight, and a small design in a big hoop is more likely to pucker. The checker names the smallest hoop that fits for that reason.
When the design is too big for every hoop
If no hoop in the list fits, there are three ways forward. A design can be resized in digitizing software, which recalculates the stitches so the density stays right; simply scaling stitch files by more than about 10 to 20% tends to give thin or overcrowded fills. Large designs can be split into parts and stitched in several hoopings, which many machines support with alignment marks. Or a machine with a larger field can stitch it, which is how shops sew jacket backs.
The embroidery file viewer shows the size of any design next to its stitch count, and the stitch calculator tells you how the count changes with size. To open the same design on another machine brand, the embroidery file converter saves it in that machine's format.
Embroidery hoop sizes: common questions
What is the most common embroidery hoop size?
4" × 4" (100 × 100 mm) is the standard hoop on most entry-level home machines, and 5" × 7" (130 × 180 mm) is the next step up and very common on mid-range machines.
Is a 4x4 hoop really 4 by 4 inches?
The sewing field is 100 × 100 mm, which is 3.94 inches square, a little under 4 inches. The frame itself is larger.
How do I know the size of my design?
Drop the file on this page or in the embroidery file viewer. The size is read from the stitches, in millimetres and inches.
Can I stitch a 5x7 design in a 4x4 hoop?
Not in one hooping. The design would need to be split into parts, or resized in digitizing software to fit 100 × 100 mm.
What does "fits turned 90°" mean?
The design fits if you rotate it a quarter turn, so its height runs along the hoop's width. Rotate it on the machine screen or in software before stitching.
Why does my machine say the design is too big when it looks small?
Check that the right hoop is selected on the machine and that the design is centred. Some files also contain stray stitches far from the design, which make it larger; the size shown here includes every stitch.
More embroidery file tools
Updated November 2026 · How these tools work